UDIM Importer
A new one click system has been added to easily load in all the UVs and textures created using a UDIM format.
Imports from Mari, Substance, or any other texturing or uv mapping tool, and create new materials for each UDIM found.
What would normally take hours to do manually (and sometimes can’t be done at all using C4D alone) can now be done instantly.
The installer also includes the Texture View plugin.
Available for R20, R21, S22, R23, S24, R25, S26 and 2023.
Full documentation can be found here.
Note: This plugin was created to initially give support for UDIMs using Standard C4D Materials. If you are using a renderer such as Octane, Redshift or Arnold I highly recommend researching their own Token based systems for supporting UDIMS. That is the better way. But if you would like to have a separate material per UDIM, with a polygon selection set for each one, then this plugin may still be of use to you. Please research if this is what you need before you purchase.
Buy UDIM Importer R20 to 2023What it does
- Firstly it creates a new material for each UDIM
- Then it creates a Texture Tag for each UDIM and adds them to your object, with the UDIM material assigned.
- Next it creates a selection tag for the UVs for each UDIM and assigns them to each Texture Tag.
- Lastly it will load in all the textures from the folder and assign them to the correct channel on the UDIM.
Renderers
We currently support the creation of materials for the following renderers
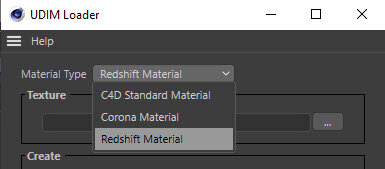
- C4D Standard Materials
- Corona Materials
- Redshift Materials
Workflow
- Load in your 3D file.
- Remove all existing Texture Tags, and Selection Tags, from the model
- Make sure the object you imported is selected in the Object Manager in C4D
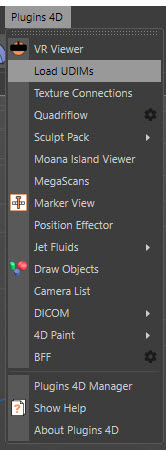
- Open the dialog from Plugins 4D -> Load UDIMs
- Select a texture in the folder that contains all your named UDIM textures that were exported from Mari, Substance, Photogrammetry etc...
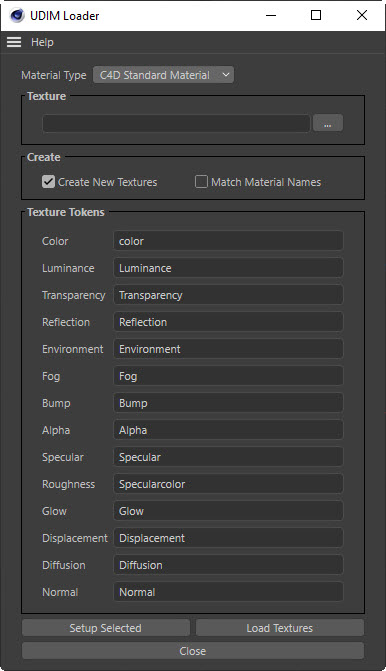
- Make sure the Texture Token names are the same as your texture file names. IE color.1001.tif. (Note that these are case sensitive).
- Press Setup Selected to do the following
- Create a new material for each UDIM
- Creates a Texture Tag for each UDIM and adds them to your object.
- Create a selection tag for the UVs for each UDIM and assign it to the Texture Tags.
- Load in all the textures from the folder and assign them to the correct channel on the UDIM.
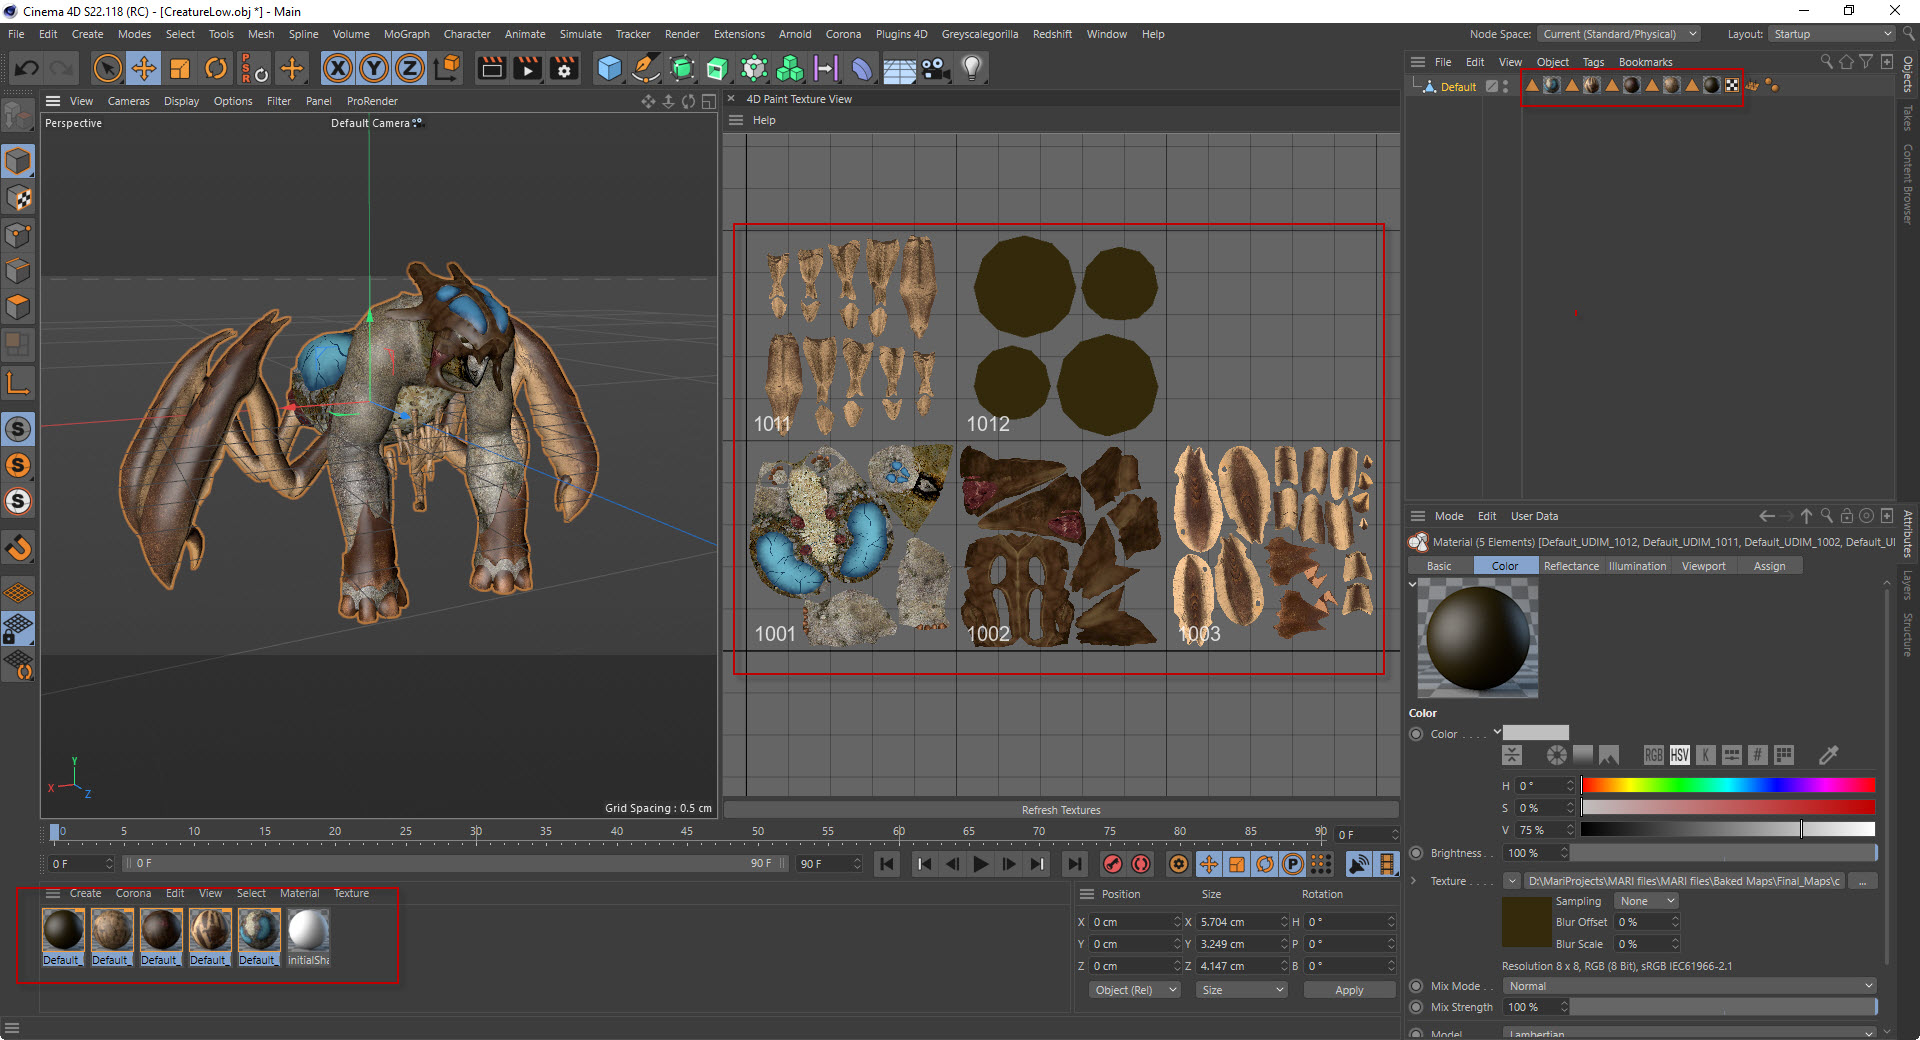
The following image shows importing a model from Mari.
Current Texture Channel Support
- C4D Standard Material supports all textures as shown in the videos.
- Corona currently only supports Color, Luminance, Transparency, Reflection, Bump, Alpha and Displacement.
- Redshift currently only supports importing textures for Color, Normal and Environment.
C4D Standard Material
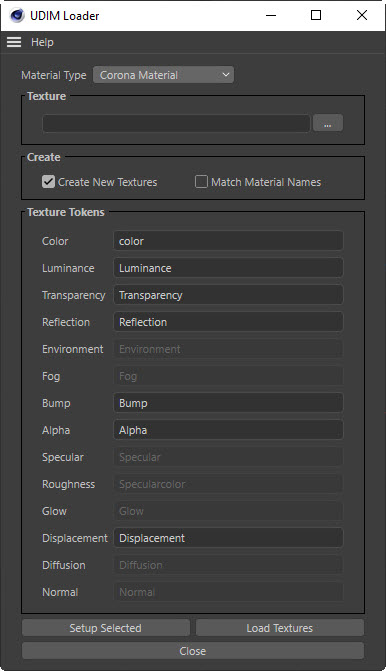
Corona Material
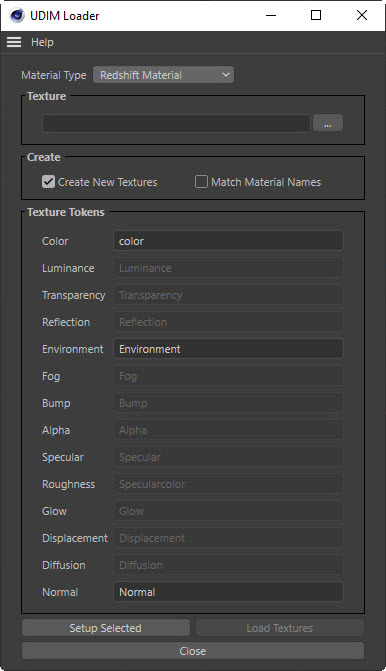
Redshift Material
Please note that this video is slightly outdated and the menus have changed. Please see the notes below for more details…
Please note that this video is slightly outdated. The plugins are no longer Alpha and they are only available here on this website.